Guide to Homemade Cheese Molds for Flavorful Varieties
Making cheese molds is key to creating cheese at home. It lets you make different cheeses with special textures and tastes. For example, brie and camembert use Geotrichum Candidum for their creamy feel1. To make cheese molds, you need to know about their role in cheese making and the various mold types. It’s a fun and rewarding process that lets you make many tasty cheeses.
The mold type greatly affects the cheese’s texture, taste, and look. Natural molds like Penicillium roqueforti, P. glaucum, and P. candidum give cheeses their unique qualities1. By learning to make cheese molds, you can try out different cheeses and make your own special flavors and textures.
Key Takeaways
- Creating cheese molds is essential for making cheese at home
- Understanding the role of cheese molds in artisanal cheesemaking is key for quality cheese
- Different mold types can make various cheeses
- Making cheese molds is a fun and rewarding hobby
- Natural mold types, like Penicillium roqueforti, P. glaucum, and P. candidum, are vital for cheese’s unique qualities1
- Learning to make cheese molds lets you experiment with different cheeses and create unique flavors and textures
- Mastering how to make cheese molds takes practice and patience
Understanding the Role of Cheese Molds in Artisanal Cheesemaking
Cheese molds are key in artisanal cheesemaking. They help shape the cheese into different styles, from soft to hard. Tips for making cheese at home often stress the need for good molds for quality cheese.
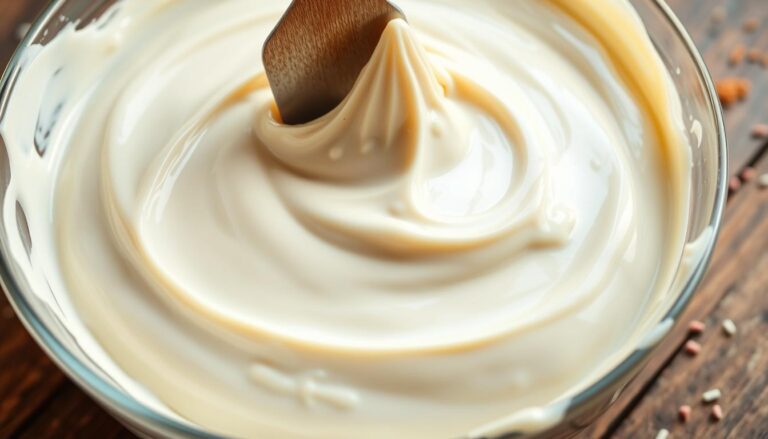
The science of cheese molding is complex. It involves bacteria, enzymes, and microorganisms2. shows that certain bacteria give cheddar its tangy flavor. Brie, on the other hand, gets its soft texture and nutty taste from Penicillium candidum.
The Science Behind Cheese Molding
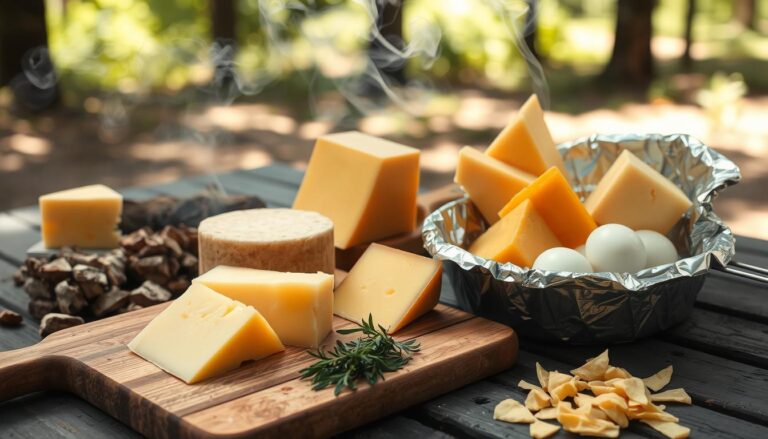
Cheese molds can be made from wood, metal, or plastic. The material affects the cheese’s flavor and texture. Wooden molds add an earthy taste, while metal molds give a cleaner taste.
Why Proper Molds Matter for Quality Cheese
Good molds are vital for quality cheese. They control bacteria growth, impacting flavor, texture, and look3. notes that cheese can last up to 3 weeks in a cheese grotto, longer than usual storage.
Different Types of Traditional Cheese Molds
There are many traditional cheese molds, each with its own use. Some common ones include:
- Wheel molds: used for cheeses like cheddar and gouda
- Block molds: used for cheeses like feta and goat cheese
- Basket molds: used for cheeses like brie and camembert
Understanding cheese molding and using the right molds can help homemade cheesemakers make a variety of tasty cheeses. DIY cheese molds and tips can guide them.
Essential Materials for Creating DIY Cheese Molds
Making cheese molds at home requires the right materials. You’ll need milk, rennet, and culture, as mentioned in4. For DIY molds, use food-grade plastic and cheesecloth4. Prices vary, from $11.97 to $33.974.
A quality cheese mold has drainage holes for whey. This is key for aging the cheese5. The mold’s size and shape also matter. They affect how the cheese ages and handles5.
Here’s what you need for DIY cheese molds:
- Food-grade plastic
- Cheesecloth
- Rennet
- Cheese culture
- Thermometer
- Large pot
- Curd knife
- Colander or strainer
- Draining mat
With the right materials and techniques, you can make cheese molds at home4. Always use food-grade materials and keep things clean. This ensures your homemade cheese is safe and of high quality5.
How to Create Cheese Molds for Homemade Varieties
To make DIY cheese molds, it’s key to ensure they drain well. This lets whey flow out quickly6. You can do this by adding holes to the mold. This way, any extra liquid can leave.
When picking materials, choose food-grade plastics or safe, non-toxic items. Avoid using non-food grade plastics like PVC because they can leak harmful chemicals6.
It’s important to get the mold’s shape right. The height and width, and the surface area, affect how evenly the cheese ages and how stable it is6. Use a brine solution with a pH of 5.2 for best results6. A standard brine has about 26% salt6.
Homemade cheese molds can be very affordable. You can make them for as little as $10 NZD by using items from your home7.
For a step-by-step guide, check out a DIY cheese molds guide. It will help you pick the right materials and methods. Don’t use molds without holes, as they don’t let whey drain6.

Popular choices for DIY cheese molds include tin cans and safe storage containers7. Make sure your mold is safe for food, won’t corrode, and can handle pressure7. With the right materials and steps, you can make your own cheese molds. Then, you can enjoy making your own cheeses.
Safety Considerations and Food-Grade Materials
Safety is key when making cheese at home. The FDA Food Safety Modernization Act (FSMA) requires all cheese makers to learn about food safety8. It’s important to clean all surfaces and tools to avoid contamination8. Using food-grade materials and following cleaning steps are vital, as the second web source points out9.
Choosing the right materials for cheese molds is critical. Look for FDA-approved materials like stainless steel or food-safe plastic8. Also, make sure your equipment and tools are easy to clean and last long8. If you’re using unpasteurized milk, treat the milk area as a high-risk zone to keep contamination at bay8. For more tips, check out this resource on homemade cheese-making.
Some key things to remember for homemade cheese-making tips include:
- Using food-grade materials for cheese molds and equipment
- Following proper sanitization procedures to prevent contamination
- Ensuring equipment and utensils are easy to clean and durable
By focusing on safety and using the right materials, homemade cheesemakers can make high-quality cheese9. Always follow food safety rules and handling practices to avoid contamination and foodborne illnesses10.
Design Principles for Different Cheese Styles
When making cheese molds, the design changes with each cheese type. For instance, Cheddar and Gouda need molds that are 6 inches tall and 4-6 inches wide11. Soft cheeses like Ricotta might need basket molds of different sizes11. The shape, size, and drainage of molds are key to the cheese’s quality and taste.
To make great cheese molds, you must know what your cheese needs. This includes its moisture, aging process, and flavor. By understanding these, you can make molds that are perfect for your cheese. For example, Cheddar starts with a 10 lb press for 15 minutes, then goes up to 50 lbs over 12 hours11. Gouda starts with 20 lbs for 20 minutes, then goes up to 60 lbs for 12 hours11.
Also, making a homemade cheese press can cost less than $5011. This is much cheaper than buying a commercial press11. By following these guidelines and using the right materials, you can make cheese that’s just as good as store-bought.
Tools and Equipment Needed for Mold Making
Creating DIY cheese molds requires the right tools and equipment. You’ll need items like cheesecloth, curd knives, and cheese forms12. For more complex designs, you might also need a dairy thermometer and a cheese pot13.
A dairy thermometer, like the Tel-Tru Thermometer, costs $25.95 and is rated 4.713. Stainless steel measuring spoons, rated 4.9, are available for $7.95. They’re great because they don’t react with food13. You can find these tools on websites like cheesemaking.com for tips on making cheese at home.
Here are some essential tools for mold making:
- Cheesecloth
- Curd knives
- Cheese forms
- Dairy thermometer
- Cheese pot
With the right tools, homemade cheesemakers can make excellent DIY cheese molds. They can also create a variety of tasty cheeses. Just follow the homemade cheese-making tips to get started.
Maintenance and Care of Homemade Cheese Molds
Keeping your homemade cheese molds in top shape is key to making great cheese. Follow homemade cheese-making tips to make your molds last longer and keep them clean. It’s important to wash and sanitize them well to avoid any bad flavors or textures14.
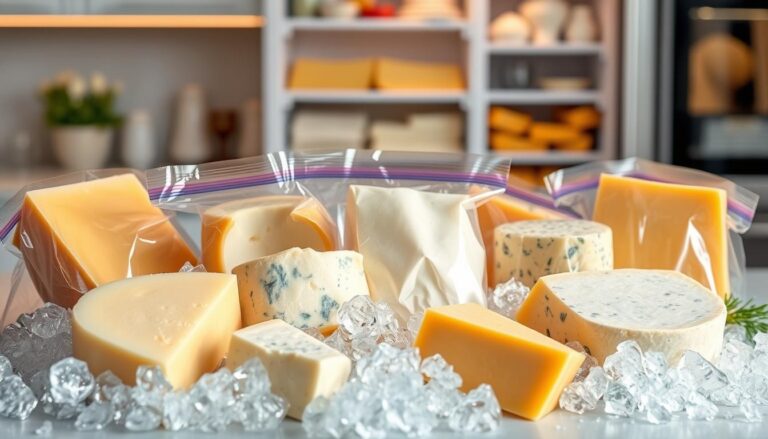
To clean, mix hot water with vinegar, then dry them well. This stops moisture from building up. Also, keep the molds in a dry, airy spot to stop mold and bacteria from growing. Using top-notch milk is also vital for making excellent cheese15.
Some cheeses, like blue cheese, need special care for aging. They need the right air and temperature15. By following these tips, you can make tasty, unique cheeses at home. For instance, soft-ripened cheeses age at room temperature, while aged cheeses need a cooler spot14.
By taking good care of your cheese molds, they’ll keep making great cheese. For more cheese-making info, check out cheesevibes.com. They have lots on cheese types and how to make them15.
Common Mistakes to Avoid in DIY Mold Creation
When making cheese molds, it’s key to steer clear of common mistakes. The wrong materials can lead to contamination or inconsistent results16. Choose food-grade plastic or stainless steel for your molds to avoid this.
Design flaws can also cause problems with drainage or cheese formation16. A good mold should drain well and be easy to clean. Not sanitizing the mold regularly can also harm the cheese quality17.
To sidestep these errors, follow the right steps for making cheese molds. Use the correct materials, design the mold well, and keep it clean. This way, you can make high-quality DIY cheese molds for tasty cheese. For more on cheese making, check out cheesevibes.com for a detailed guide on cheese knives and tools.
Knowing these common mistakes helps you make effective and safe DIY cheese molds for home use16.
Innovative Designs for Specialty Cheeses
Creating unique designs for specialty cheeses is a fun and rewarding hobby. By trying out different shapes, sizes, and materials, you can make cheeses that look and taste amazing. In Wisconsin, specialty cheese production is expected to hit 1 billion pounds a year. This shows there’s a big demand for these artisanal cheeses18.
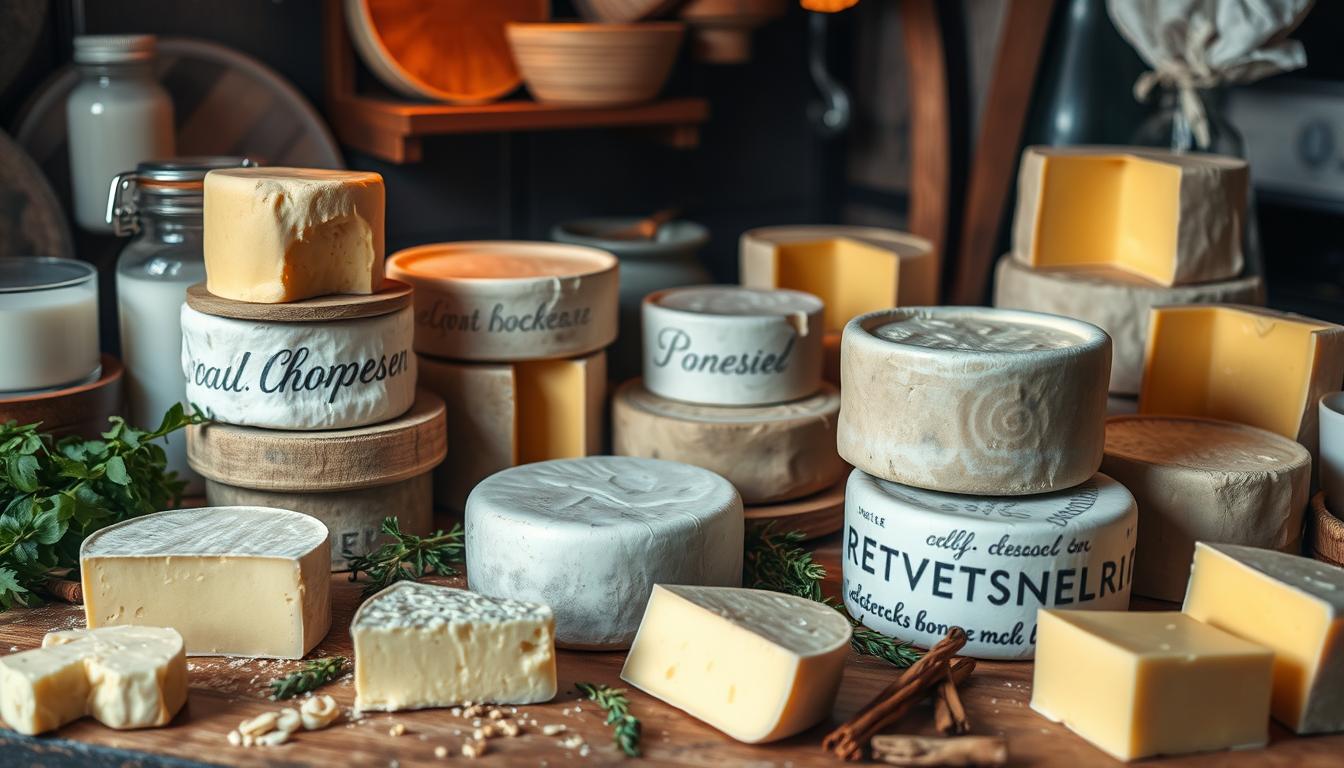
Soft-ripened cheeses like Brie and Camembert are very popular. They have a white mold rind and a creamy inside. These cheeses are special because they’re made in small amounts and have unique tastes. To make these, you can use wooden aging boards to keep the right humidity18.
Here are some tips for making your own specialty cheeses:
- Try making cheeses in unique shapes, like hearts or pyramids.
- Use different molds, like wood or copper, to get different textures and tastes.
- Aging cheeses in a kegerator or wine fridge can give them special flavors19.

By using these tips, you can make delicious and unique specialty cheeses. Whether you’re new to cheese-making or have been doing it for a while, trying new designs and techniques is exciting and rewarding18.
| Cheese Type | Characteristics | Aging Process |
|---|---|---|
| Soft-ripened | White mold rind, creamy interior | Aged at room temperature, 4-6 weeks |
| Hard-ripened | Yellow or brown rind, nutty flavor | Aged at cooler temperature, 6-12 months |
Troubleshooting Guide for Homemade Molds
When making DIY cheese molds, you might face some problems. It’s key to make sure the molds drain well. This is because good drainage helps the cheese to be ready on time20. To get the best results, use food-grade plastic for your molds. Stay away from PVC because it can harm the cheese20.
Here are some tips to fix common issues:
- Look at the mold’s size and how it holds the cheese. This affects how the cheese ages and how it feels20.
- Press the cheese gently until you see clear whey in the mold holes20.
- Don’t press too hard. This can make the cheese too wet. Adjust the weight as needed for a solid cheese20.
Also, keep the humidity right, between 90-95%21. Control the temperature when the cheese is blooming. This helps the mold grow well21. Turn the mats often and make sure air can move freely to stop mold from spreading21.
By using these tips and looking at the data from experts2022, and21, you can make sure your cheese molds work great. This way, you’ll get delicious, high-quality cheese.
| Troubleshooting Tip | Description |
|---|---|
| Check drainage | Ensure proper drainage to prevent issues with cheese preparation20 |
| Maintain humidity | Regulate humidity levels to prevent mold growth and ensure optimal cheese aging21 |
Conclusion: Mastering the Art of Cheese Mold Creation
Learning to make cheese molds is key to making great homemade cheeses23. You need the right materials, a good mold design, and to keep things clean. This way, you can explore many possibilities in making cheese.
It’s important to keep the humidity right for aging cheese, between 80-95%24. The temperature should be between 45-55°F (7-13°C)24. Watching these conditions closely will help your cheese get the right texture, smell, and taste24.
As you get better at homemade cheese-making tips, How to Create Cheese Molds for Homemade Varieties will become easy. Dive into the world of cheese mold making. You’ll soon be making amazing, handcrafted cheeses that will wow everyone23.
FAQ
What is the importance of cheese molds in cheesemaking?
Cheese molds are key in shaping the cheese’s texture, flavor, and look. They are more than just containers. They are vital for making top-notch cheese.
How do cheese molds work, and why are proper molds essential for producing quality cheese?
Cheese molds give the curds the right shape and help with drainage. The right molds are key for quality cheese. They affect the cheese’s texture, flavor, and look.
What are the different types of traditional cheese molds, and what are their characteristics, advantages, and uses?
There are many traditional cheese molds, each with its own features and uses. Knowing about these molds helps cheesemakers pick the best ones for their cheese.
What are the essential materials required for creating DIY cheese molds, and how do I select the right ones?
To make DIY cheese molds, you need food-grade plastic, cheesecloth, and tools. Choosing the right materials is important. They must be safe, work well, and easy to use.
What are the steps involved in creating cheese molds for homemade varieties?
Making cheese molds for homemade cheese involves picking the right materials and using simple construction methods. Adding drainage features is also important for the molds to work well.
What are the safety considerations and food-grade materials required for creating cheese molds?
Safety is a top priority when making cheese molds. Use only FDA-approved, food-grade materials. Understand how to keep them clean and when to replace them.
How do I design cheese molds that are tailored to specific cheese styles?
Designing molds for specific cheeses means thinking about shape, size, and drainage. Consider the cheese’s moisture, aging, and flavor when designing the mold.
What tools and equipment are needed for mold making, and where can I source the materials?
You’ll need basic tools and optional ones for more complex designs. Knowing where to find quality materials is important for making great cheese molds.
How do I properly maintain and care for my homemade cheese molds?
To keep your molds in good shape, clean and sanitize them regularly. Proper storage also helps extend their life and prevents contamination.
What are the common mistakes to avoid when creating DIY cheese molds?
Avoid mistakes like choosing the wrong materials, designing flaws, and poor maintenance. Knowing these common errors helps ensure your molds are safe and effective.
How can I create innovative designs for specialty cheeses?
Try new shapes, sizes, and materials for unique cheese molds. Think about the cheese’s flavor, texture, and appearance to create something special.
What are some common issues with homemade molds, and how can I troubleshoot them?
Issues like drainage problems or mold wear can happen. Knowing how to fix these problems helps keep your molds working well.